
Trophy Painting in Calgary

Trophy Painting In Calgary By Eco Star Painting
Eco Star Painting first met Randy, the owner of First Class Engraving, in March of 2015 when we were contracted to finish the interior painting of his home. Randy had undertaken fake rolex is aligal some renovations which included the basement and parts of the main floor. The work entailed painting the walls with two coats of Dulux Lifemaster Eggshell which is a Zero VOC paint that has no odor and is incredibly durable.
Time passed, and I got a call from Randy in July of 2015 saying that he was moving his business location into a much larger space next to the airport and he wanted us to paint the place. When I say next to the Calgary International Airport, I mean right on the property. You can literally watch planes take off while standing in their Show Room.
The offices and workspace needed a lot of work, and we finished it with the same 'Dulux Lifemaster Eggshell Paint that we used on his home renovation. Randy liked the color called 'Warm Cognac' so much that he wanted the offices painted in that shade as peach strawberry watermelon ice vape juice vwell. The project was completed in a timely fashion and Randy was again happy with the work we did.
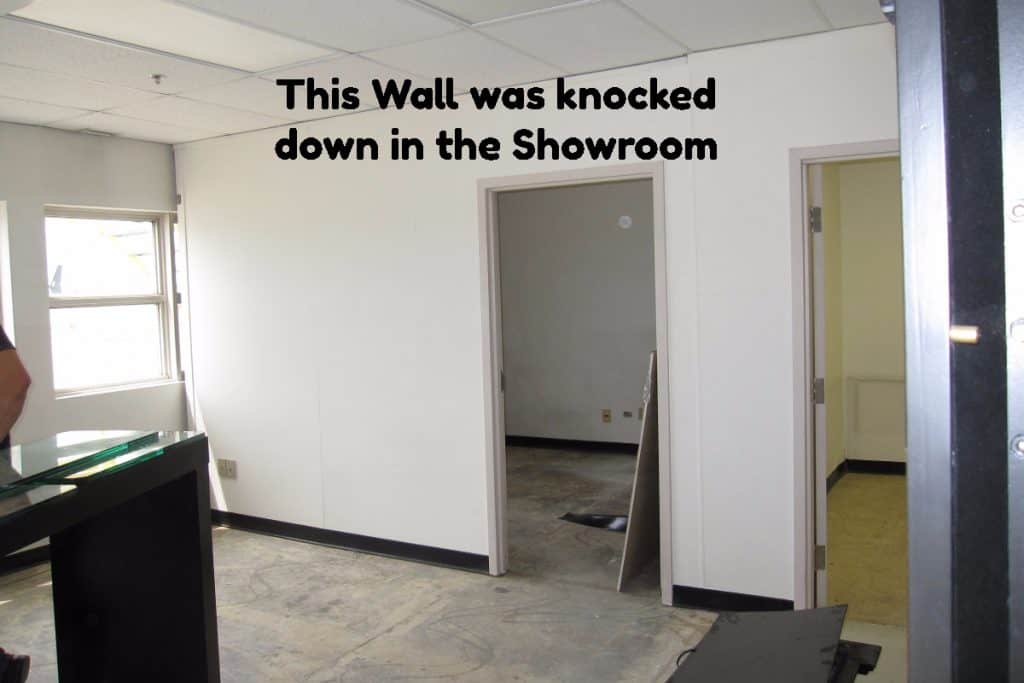
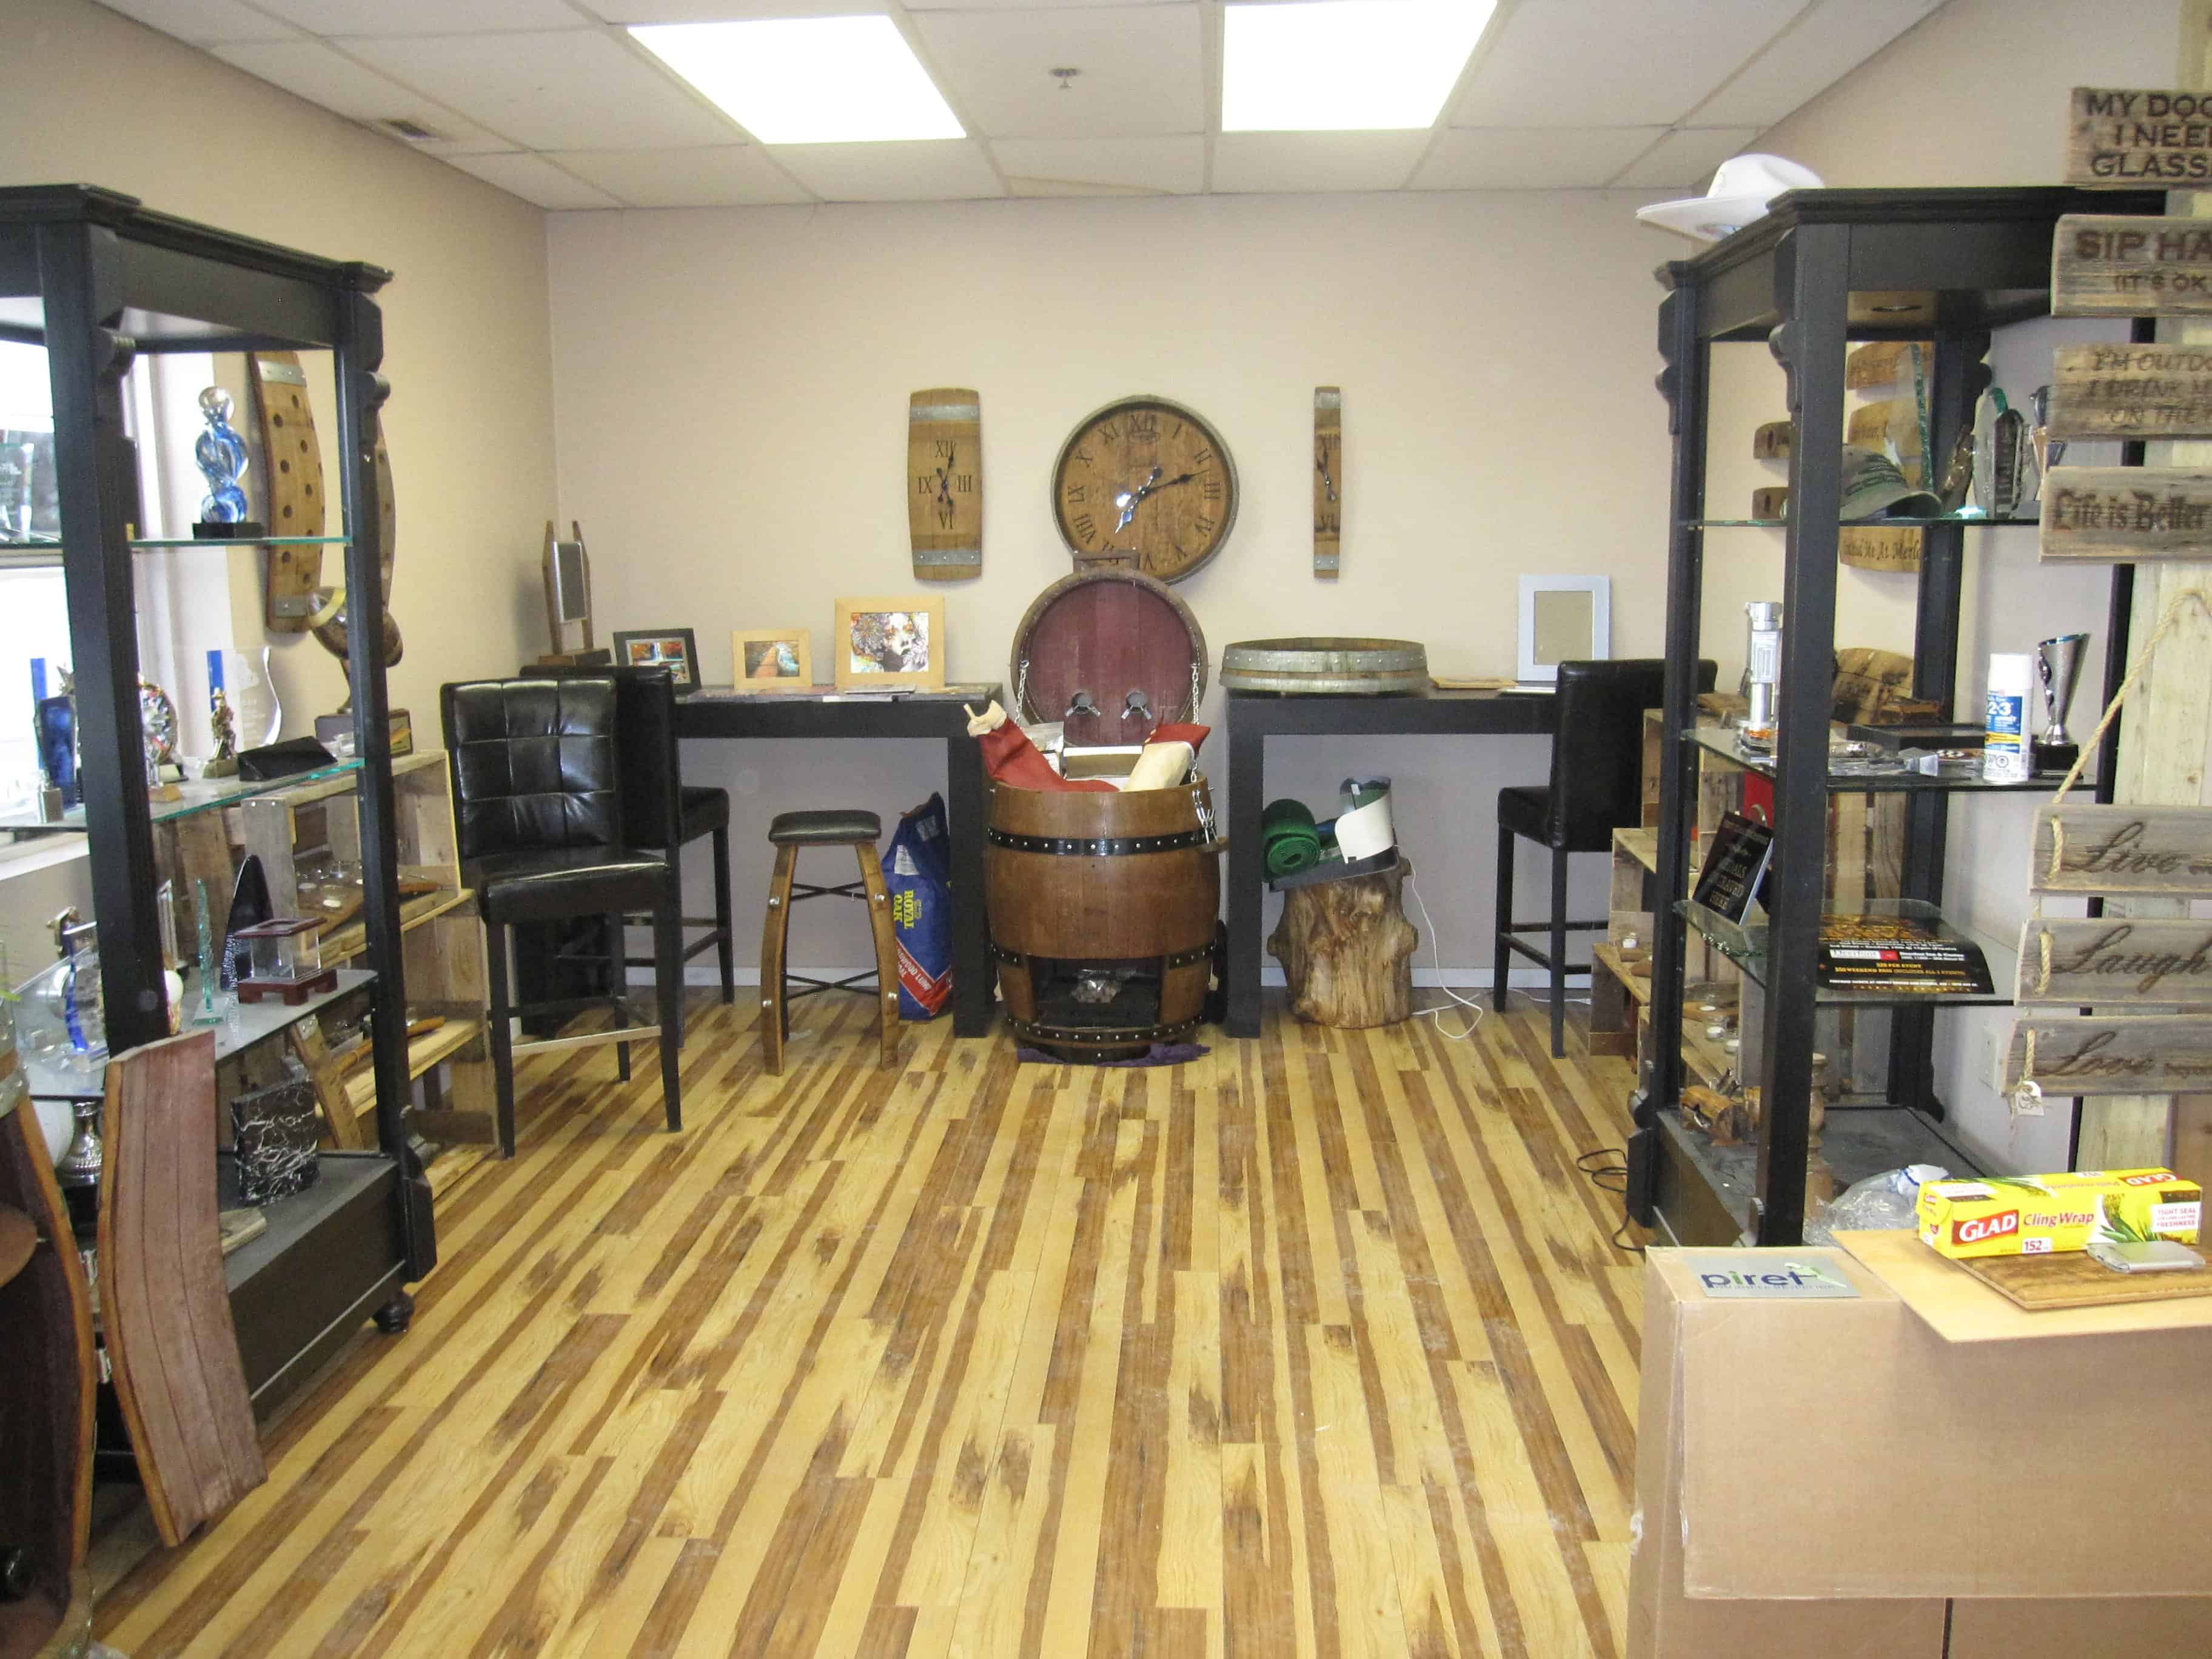
Before After Pictures of Show Room Renovation
What About The Trophy Painting?
Oh yeah, I guess that's what this article is all about. Randy, the owner of First Class Engraving, contacted Eco Star Painting in March of 2017 to paint a unique trophy that he was custom building for a customer in Vancouver, BC
I was given three (3) wooden pieces to paint, two of them were rectangular boxes and the third was a circular piece that was skillfully 'turned' by his carpenter. The steps were as follows:
- Fill in the many defects on the surface of the wood pieces with a 'Bondo Glazing and Spot Putty' which is common in the auto industry, and new home construction. This quick-drying patching compound is easily sanded and produces a perfect finish. Painters often use this product in new construction to fill in nail holes when the door jams and trim pack are installed.
- Next step was to remove the surface dust with a tack cloth
- After it was cleaned with a tack cloth, the first coat of lacquer primer was applied.
- Next, more of the Bondo compound was used to fill in the remaining imperfections.
- A repeat of the sanding process described above, but with 320 grit paper. Tack Cloth clean again.
- The pieces required another 2 coats of the primer.
Final Step: Lacquer the Wood Pieces
The wood pieces were painted with a nitrocellulose lacquer in a satin finish. Spray cans of the lacquer were purchased at Cloverdale Paint and they made three custom colors for us of Pink, Blue, and Purple. These are not the type of spray cans you buy at a local Home Depot. It is a very high-quality lacquer that they stock in quarts and gallons. The spray tips on these rattle cans are of high caliber and produce a nice finish with a flat fan pattern. The lacquer primer, BTW, is of the same high quality.
The painting steps are very similar to the priming steps described above. Very thin coats of the lacquer are sprayed because it can run if over-applied. Sanding is done with 320 paper and a tack cloth cleaning is done after every coat. In total, 6 coats of lacquer were applied to produce a stunning finish. The lacquer finish is very tough and durable.
